Are you wondering what are solar nails?
Picture this: flawless, durable nails that exude sophistication and radiate elegance.
That’s the magic of solar nails.
But what are solar nails?
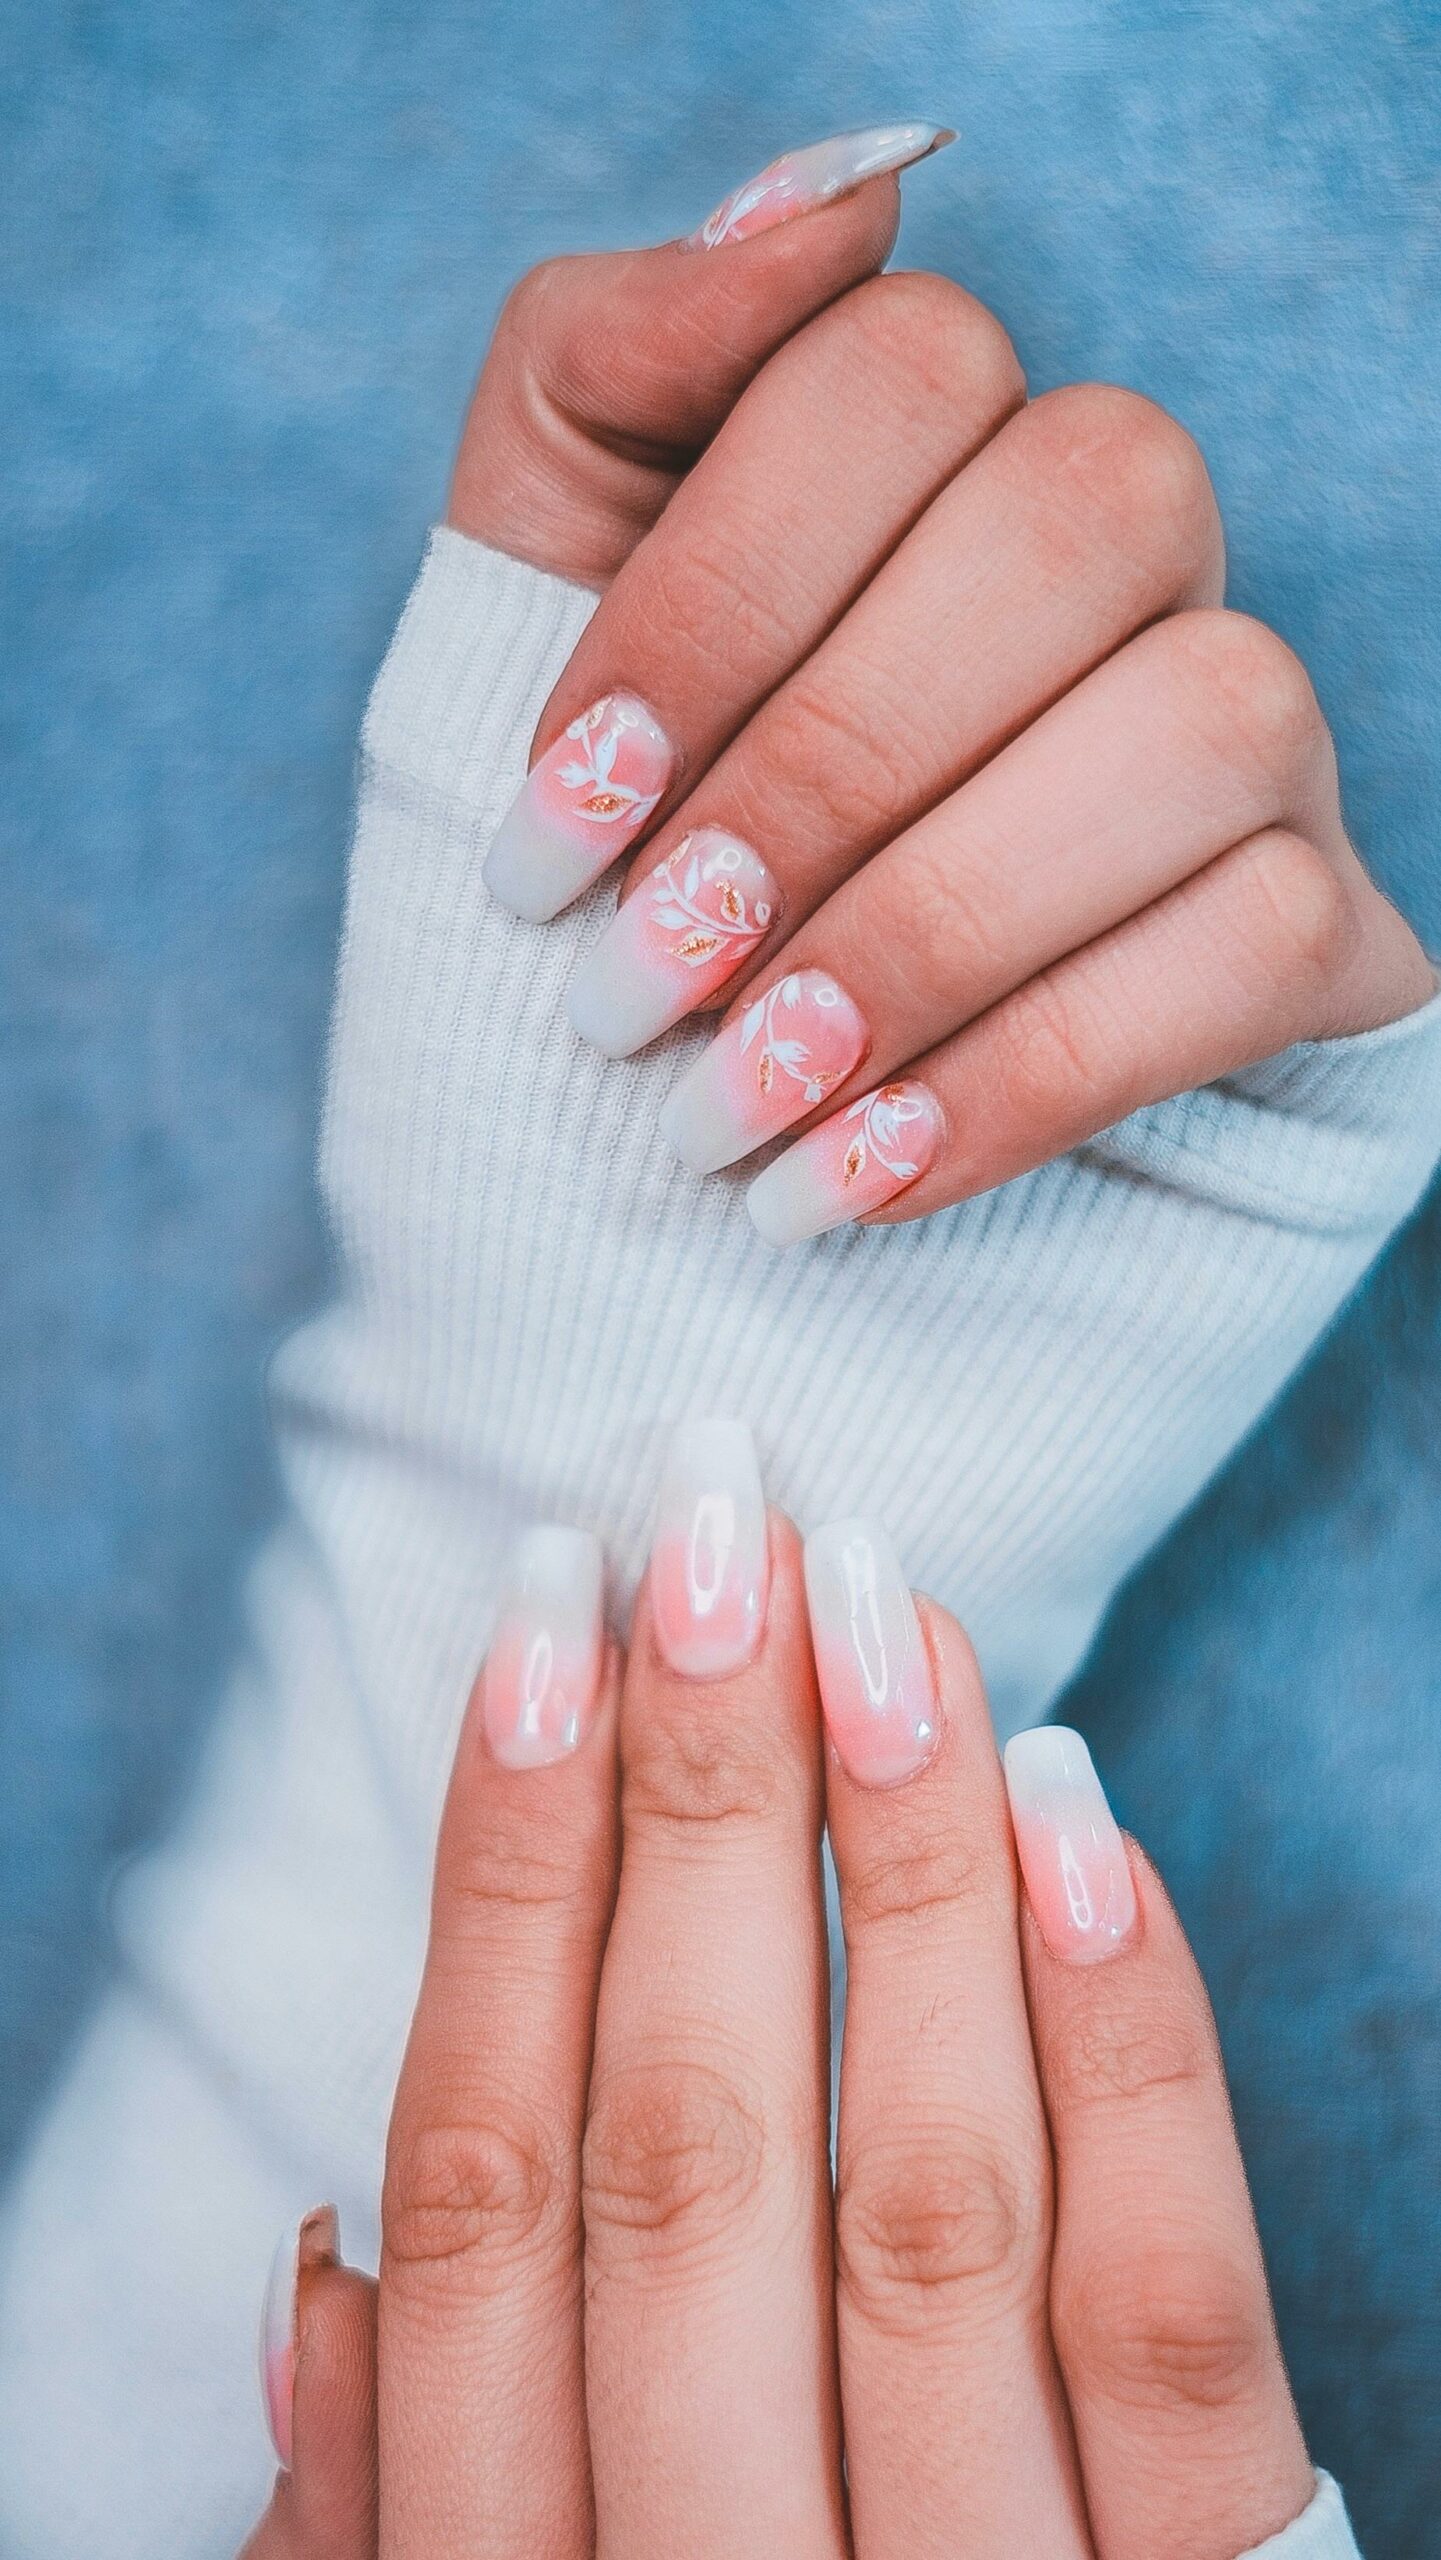
In simple terms, solar nails are a type of artificial nail enhancement that combines the durability of acrylic with the natural look and feel of gel nails.
They are meticulously crafted to give your nails a polished, long-lasting finish that withstands the test of time.
Unlike traditional acrylics, solar nails offer a more refined appearance that mimics the beauty of natural nails.
What Are Solar Nails
The Magic of Acrylic Powder
Let’s dive into the nitty-gritty world of solar nails, starting with the essential component: acrylic powder.
This powdery substance, composed primarily of polymethyl methacrylate, is what gives solar nails their strength and durability.
When mixed with a special liquid, it forms a malleable paste that can be shaped and molded onto your natural nails to create the desired length and shape.
The Elegance of Ethyl Methacrylate (EMA) Liquid
Next up on our journey through the realm of solar nails is the EMA liquid.
This specialized solution is crucial for blending with acrylic powder to form the perfect consistency for application.
Ethyl methacrylate not only helps in creating a smooth and workable mixture but also contributes to the overall adhesion and longevity of your solar nails.
Shielding Your Nails with UV Stabilizers
Last but certainly not least, we have UV stabilizers, adding an extra layer of protection to your solar nail experience.
These compounds are designed to prevent discoloration and yellowing caused by exposure to UV light during curing processes.

Preparation of Natural Nails
Before diving into the world of stunning solar nails, it’s crucial to prep your natural nails properly.
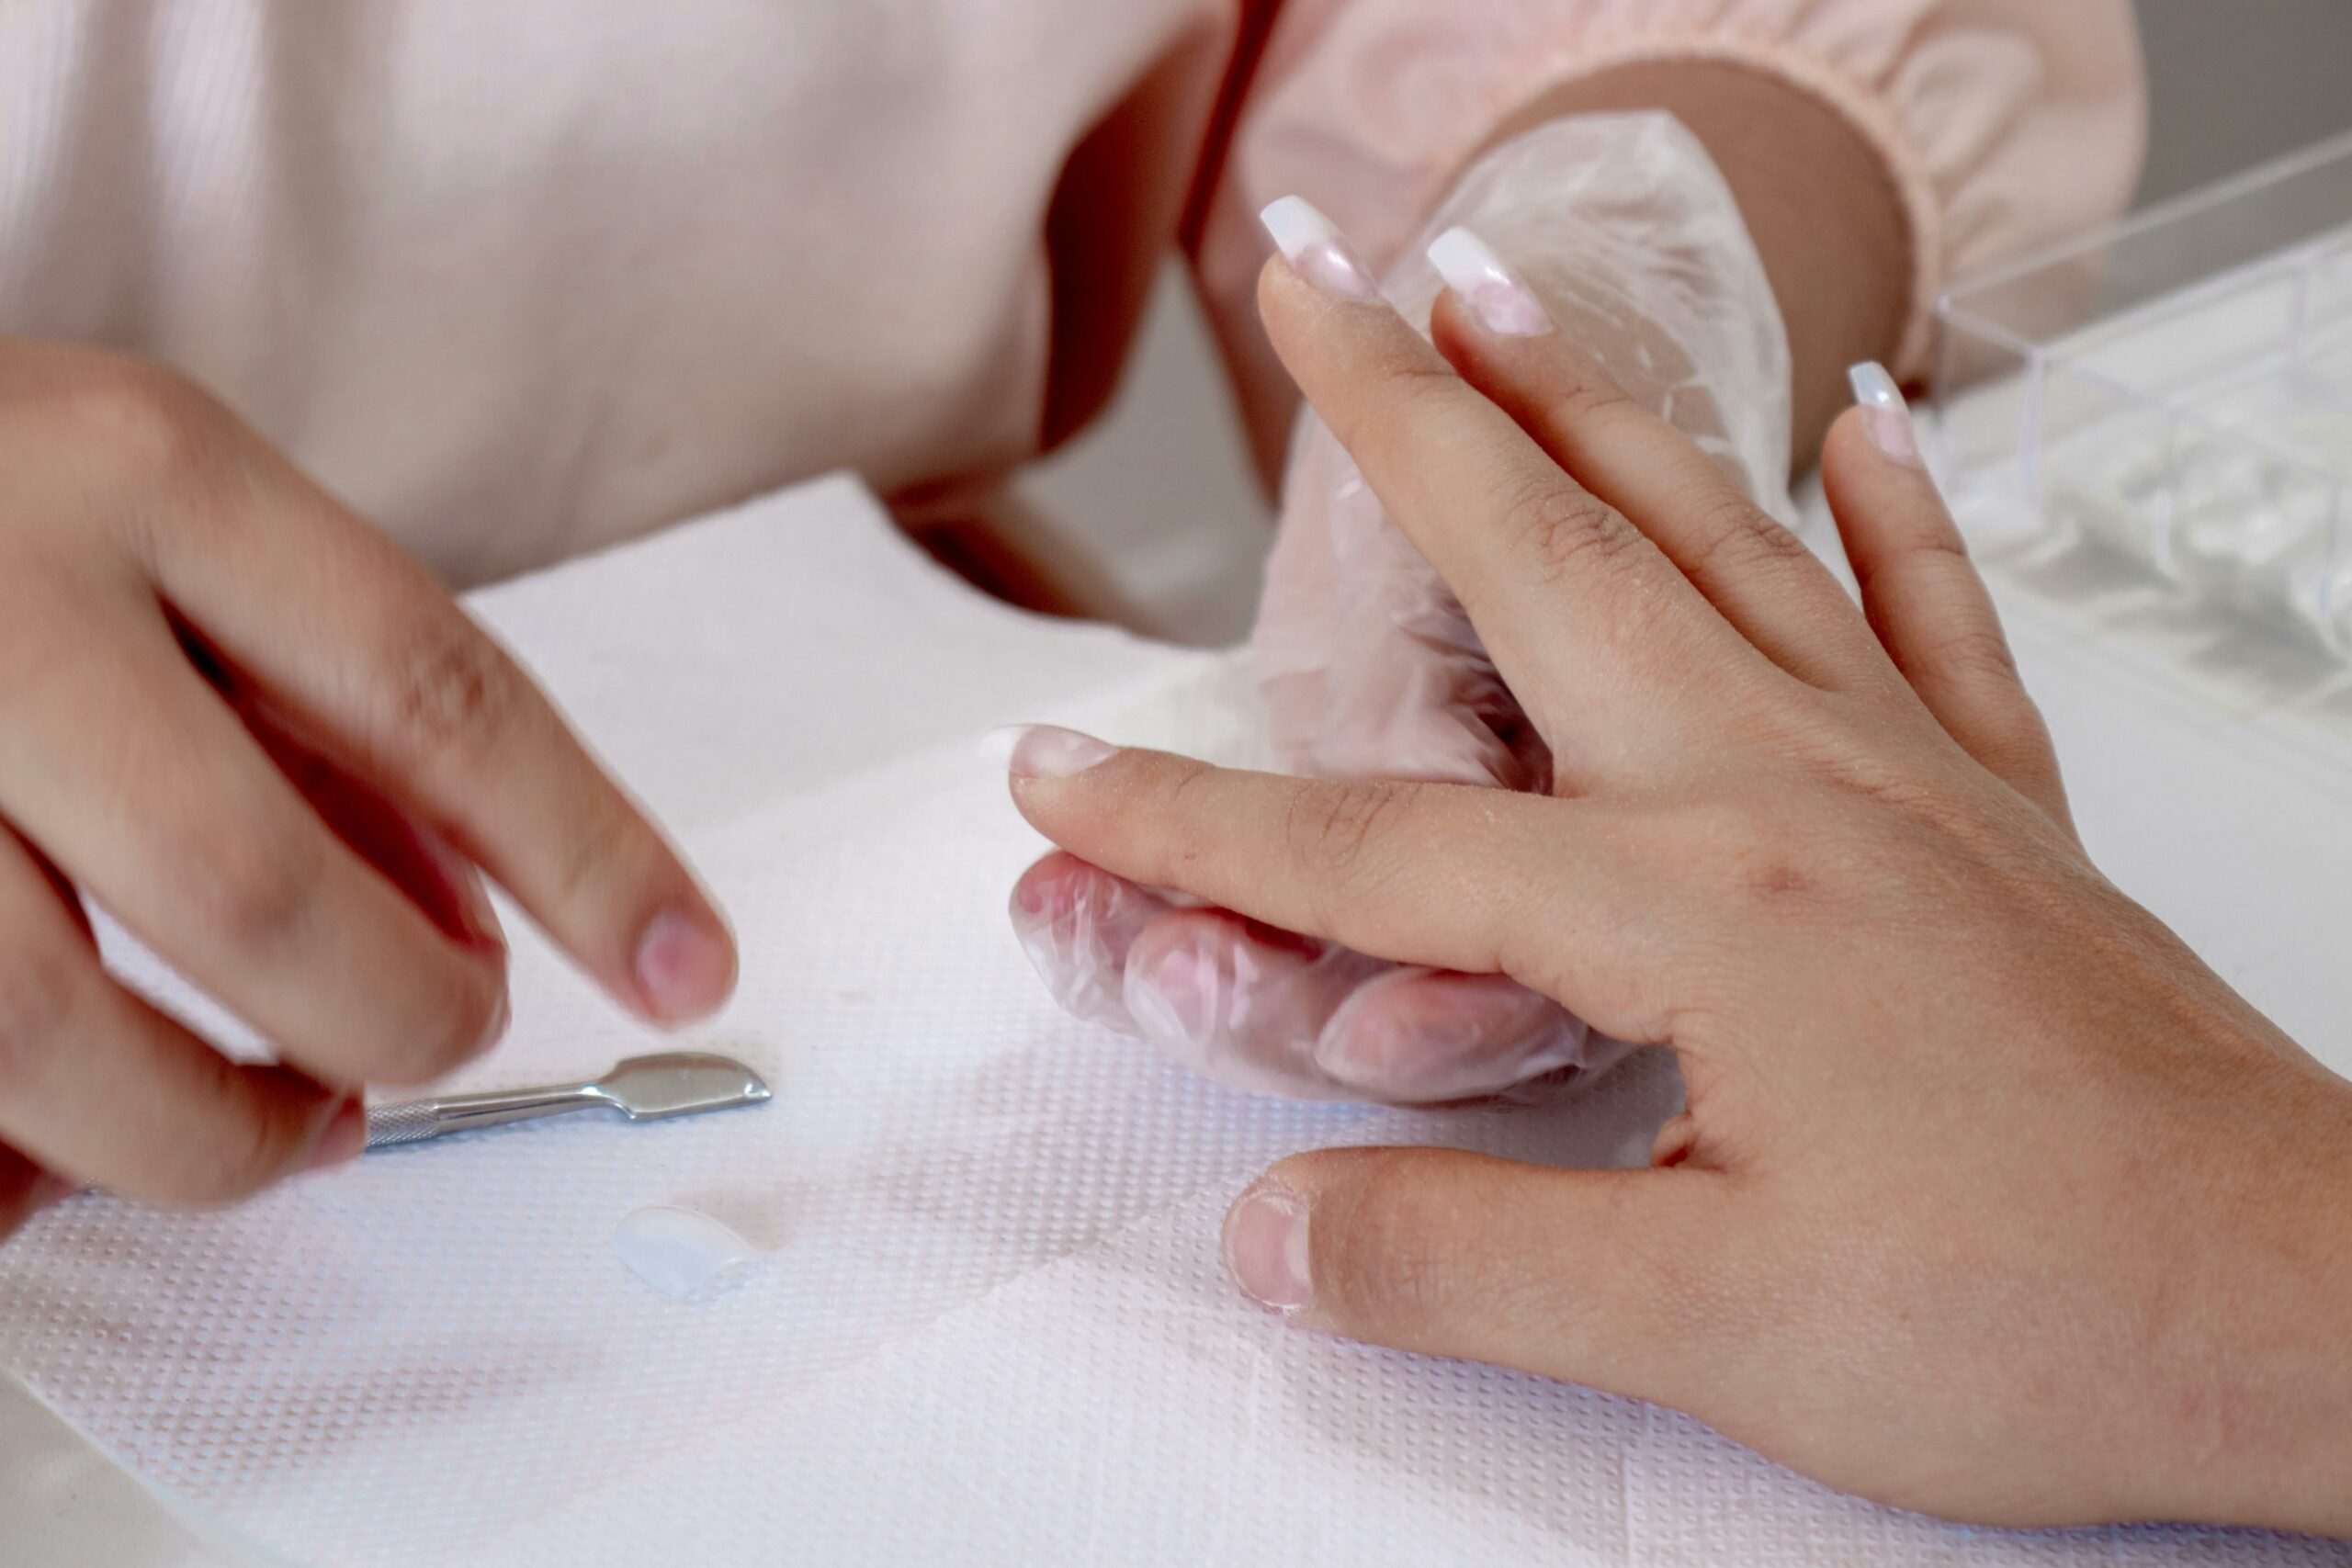
Start by gently pushing back your cuticles using a cuticle pusher or orangewood stick.
Shape your nails to your desired length and style with a nail file, ensuring they’re all even and tidy.
Next, lightly buff the surface of your nails to remove any shine and roughen them slightly for better adhesion.
Wash your hands thoroughly with soap and water to remove any oils or debris that could interfere with the acrylic application.

Application of Acrylic Mixture
Now comes the fun part – applying the acrylic mixture!
Using a brush, dip it into the EMA liquid and then into the acrylic powder to create a bead of acrylic on the brush.
Place this bead at the center of your nail near the cuticle, then gently pat and stroke it down towards the tip of your nail.
Repeat this process for each nail, working quickly but carefully to ensure a smooth application.
Build up layers as needed for strength and thickness, shaping as you go along for that perfect solar nail look.
Curing Under UV Light
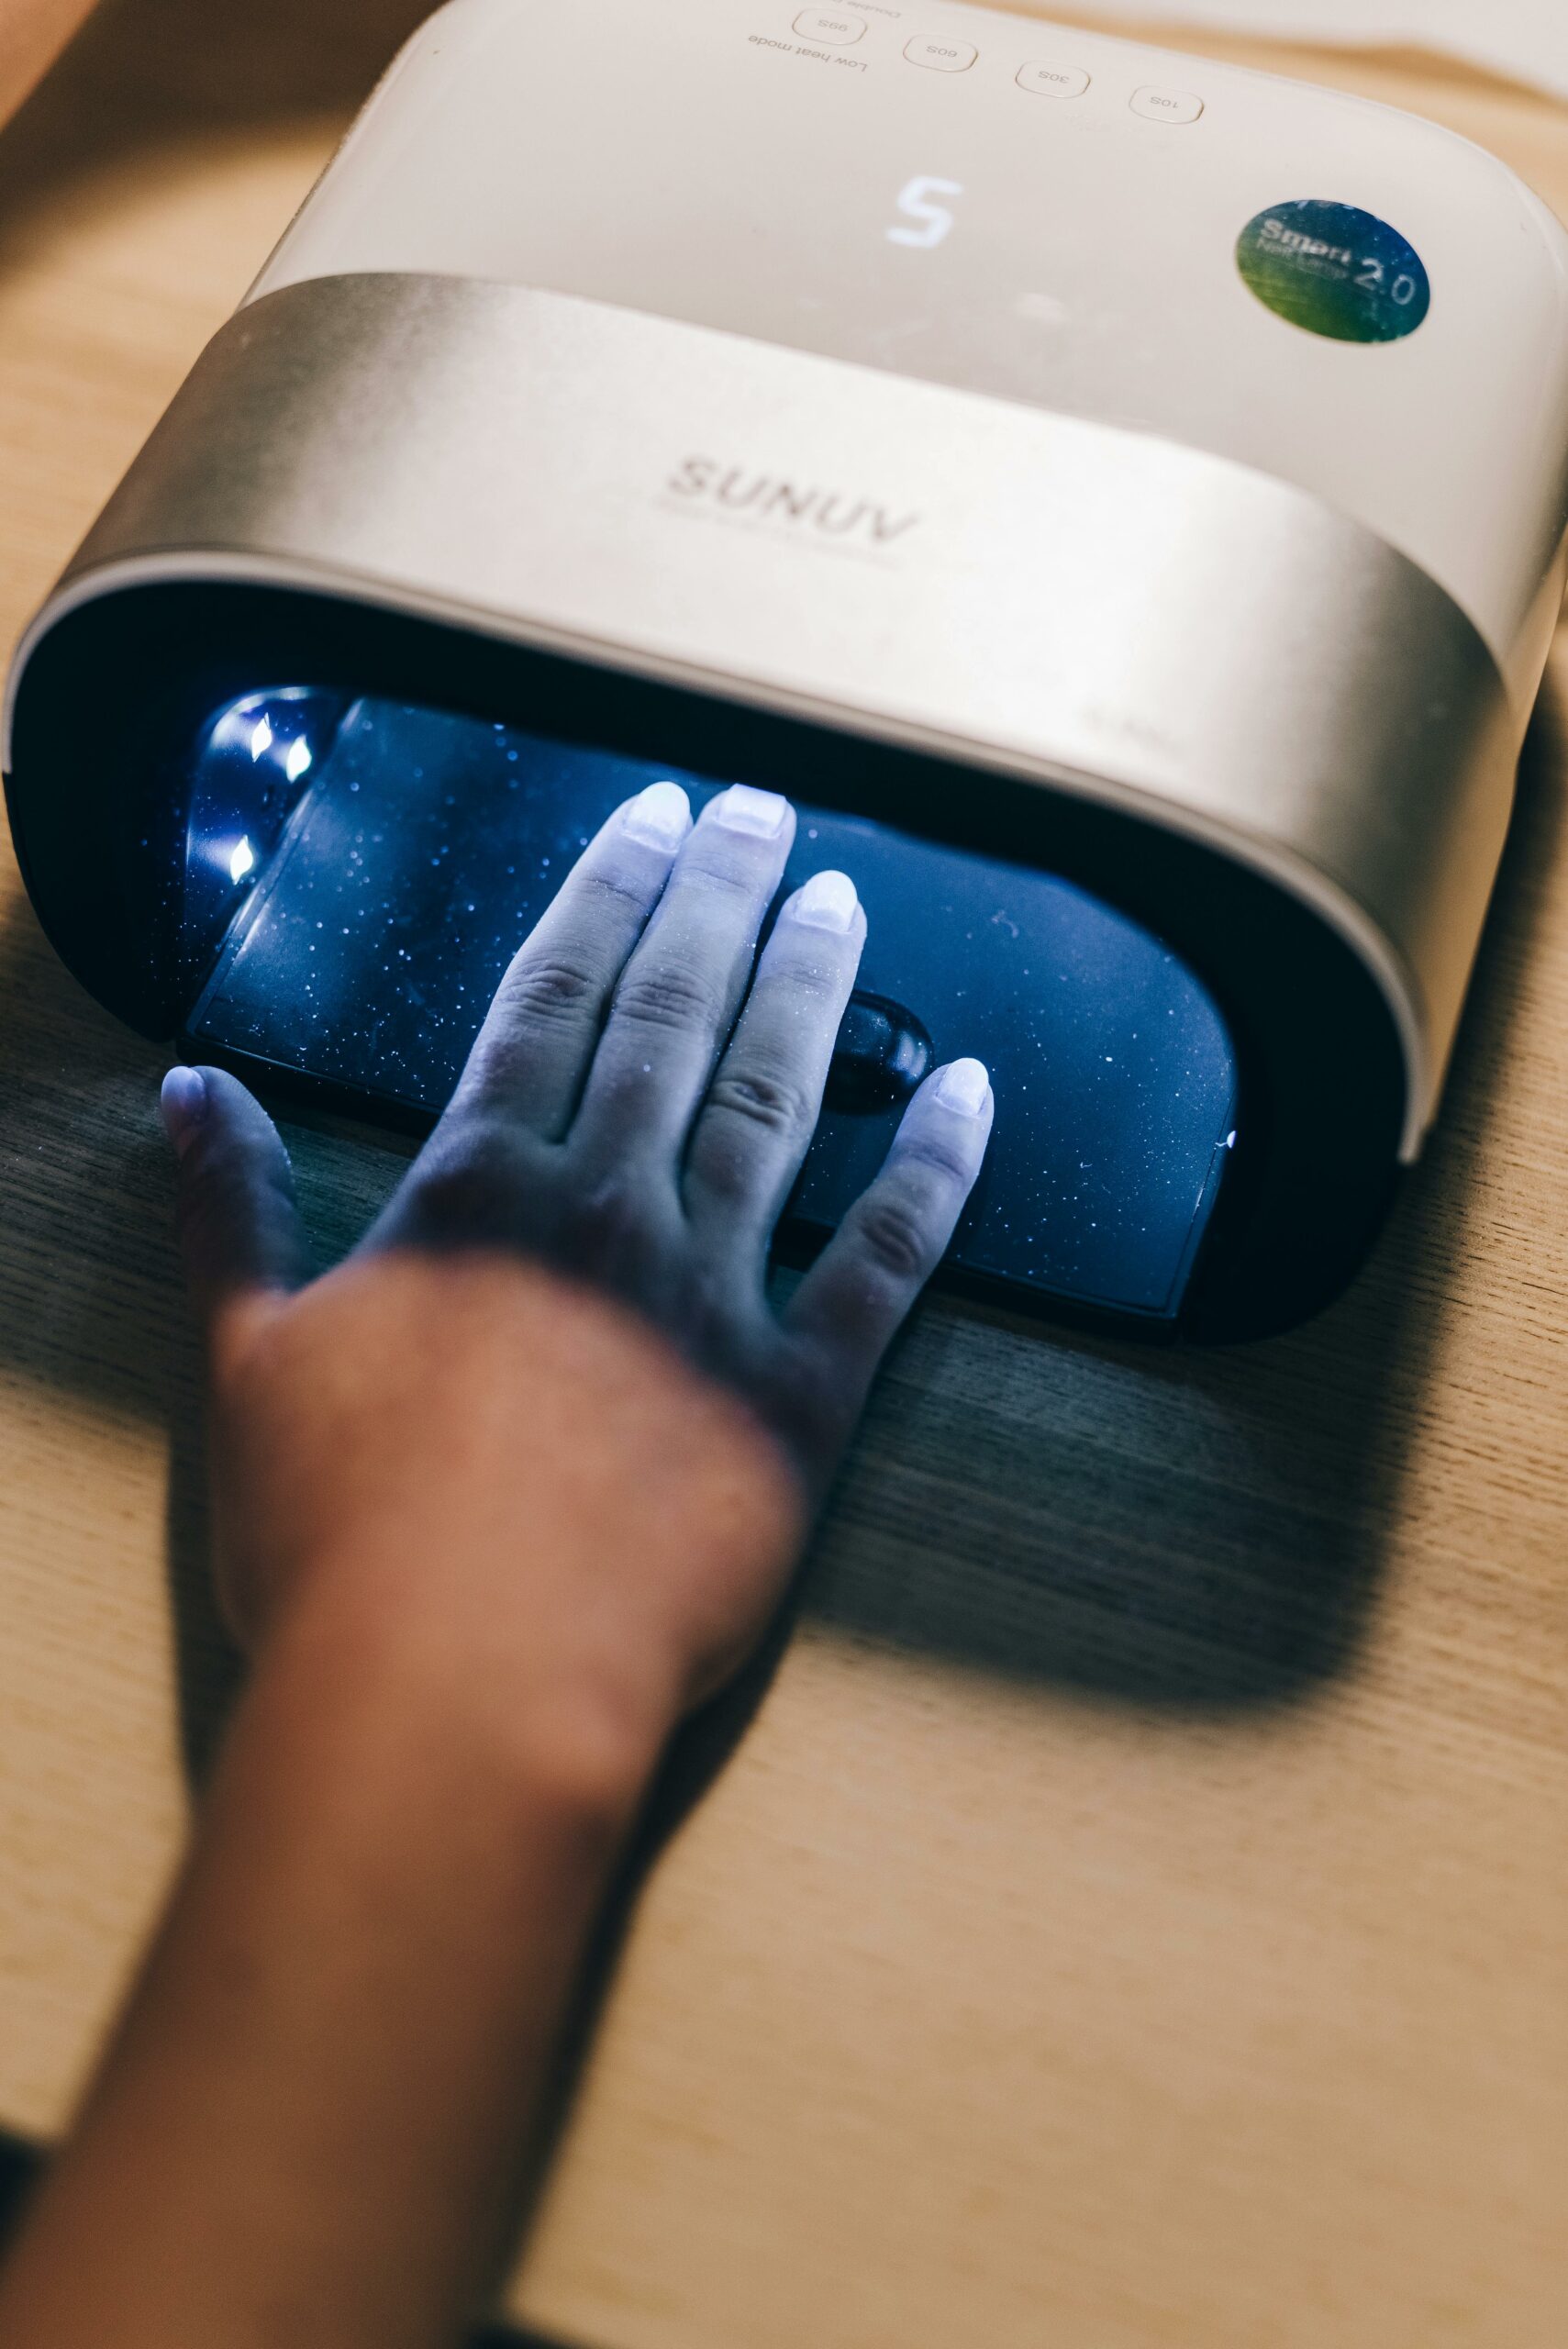
Once you’ve applied the acrylic mixture to all your nails, it’s time to let them cure under UV light.
This step is crucial for solidifying the acrylic and ensuring long-lasting durability.
Place your hands under a UV lamp for around 2-3 minutes or follow the manufacturer’s instructions for proper curing time.
Relax and let the UV light work its magic, hardening the acrylic mixture so you can enjoy beautiful, strong solar nails that are ready to take on whatever comes their way!
Benefits of Solar Nails
Longevity and Durability
When it comes to nail enhancements, solar nails shine bright like the sun.
One of the key benefits of opting for solar nails is their impressive longevity and durability.
Unlike traditional manicures that chip and fade within days, solar nails can withstand the test of time.
Whether you’re typing away on your keyboard all day or getting your hands dirty in the garden, these nails stay strong and resilient, maintaining their flawless look for weeks on end.
Natural Look and Feel
Say goodbye to thick, bulky acrylics that scream “fake nails.”
Solar nails offer a natural look and feel that can fool even the most discerning eye.
The secret lies in the application process, which involves carefully sculpting the acrylic mixture to mimic the shape and curve of your natural nail bed.
The end result?
A set of beautiful solar nails that seamlessly blend with your own nails, enhancing their beauty without looking artificial.
Maintenance Tips for Solar Nails
Regular Fills and Touch-ups
Keeping your solar nails looking fresh and fabulous requires regular fills and touch-ups.
As your natural nails grow, the gap between the acrylic and cuticle will become more noticeable.
To maintain that seamless look, it’s recommended to visit your nail technician every 2-3 weeks for a fill-in.
During this appointment, any lifting or chipping will be addressed, ensuring that your solar nails stay intact and beautiful.
Proper Nail Care Routine
Taking care of your solar nails goes beyond just getting them filled in.
Implementing a proper nail care routine can help prolong the life of your manicure.
Make sure to moisturize your cuticles daily to prevent dryness and peeling.
Use a non-acetone nail polish remover when changing colors to avoid weakening the acrylic.
Trim and file your nails regularly to maintain their desired shape, keeping them looking neat and tidy.
Avoiding Harsh Chemicals
One of the key factors in preserving the longevity of your solar nails is to avoid exposure to harsh chemicals.
Household cleaning products, such as bleach or ammonia-based cleaners, can cause damage to the acrylic overlay.
When working with such chemicals, always wear gloves to protect both your skin and nails.
Additionally, be cautious when using nail polish removers containing acetone, as they can weaken the bond between the acrylic and natural nail bed over time.
Maintaining stunning solar nails involves a combination of regular maintenance, proper care routines, and mindful protection from damaging substances.

FAQs About Solar Nails
Difference Between Solar Nails and Traditional Acrylics
One common question that arises when considering solar nails is how they differ from traditional acrylic nails.
While both involve the use of acrylic powder and liquid for application, solar nails are a specific type of acrylic nails that incorporate UV stabilizers.
These stabilizers help prevent yellowing and discoloration from sun exposure, giving solar nails their unique name.
Traditional acrylics do not have this additional layer of protection, making solar nails a preferred choice for those looking for long-lasting, vibrant nail enhancements.
Can You Get Creative with Nail Art on Solar Nails?
Absolutely! One of the fantastic things about solar nails is that they provide a solid base for all kinds of nail art creativity.
Whether you prefer simple designs like glitter accents or intricate hand-painted patterns, solar nails can serve as the perfect canvas for your artistic expression.
With proper care and maintenance, your nail art can last even longer on solar nails due to their durability.
How Often Should You Get Your Solar Nails Refilled?
The frequency of refills for your solar nails typically depends on how fast your natural nails grow and how well you maintain them.
On average, most people need a refill every 2-3 weeks to keep their solar nails looking fresh and intact.
Regular refills not only ensure that your nail enhancements stay in place but also help maintain the health of your natural nails underneath.
Be sure to consult with your nail technician for personalized advice based on your nail growth patterns and lifestyle factors.
Conclusion
One of the key factors that sets solar nails apart is their remarkable durability.
With proper care and maintenance, these nails can withstand everyday activities without losing their shine or shape.
Say goodbye to chipped polish and weak nails – embrace the durability of solar nails and enjoy long-lasting manicures that keep up with your busy lifestyle.