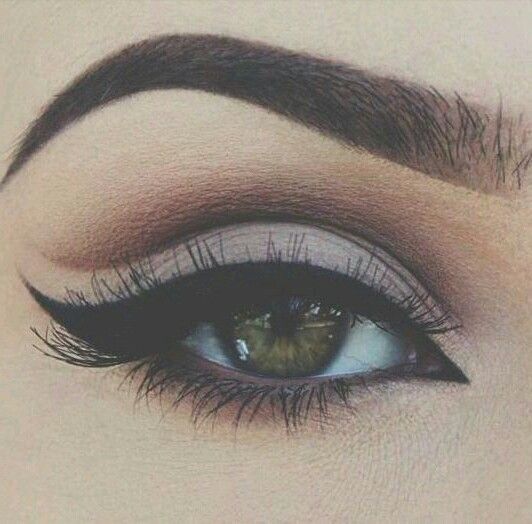
Cut crease eyeshadow is one of the newest and most popular eye makeup trends. It is basically any eye makeup that changes dramatically at the crease of your eyelid. Cut crease makeup looks great when applied correctly, but since it contradicts everything you’ve ever been taught about eyeshadow blending, it can produce catastrophic results when done wrong. If you want to learn how to apply cut crease eyeshadow and achieve gorgeous results, keep reading for seven helpful tips.
1. Start With a Base
via
To achieve the perfect cut crease eyeshadow, it is important to start with a base of primer and a neutral shade of eyeshadow. Apply the primer and the neutral eyeshadow all over your eyelid from your lash line to your brow bone.
2. Use a Pencil
via
To create a neat cut crease, use an eyeliner pencil in a dark brown color. Sweep the pencil in a V shape, starting from the middle of your crease and moving outward toward the outer edge of your eye. This step creates a clear line for your cut crease look and helps define your crease.
3. Blur the Line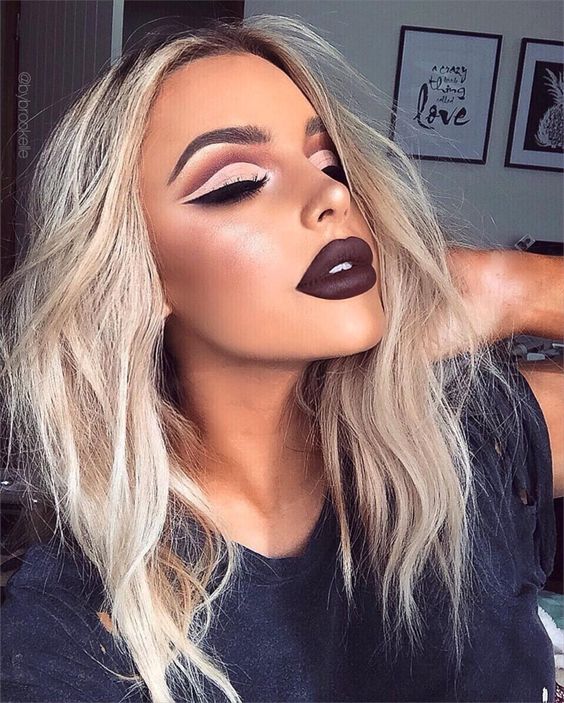
via
Even though you should blend minimally when creating a cut crease eyeshadow look, it is important to blur the line you drew with your eyeliner pencil in order to avoid an excessively harsh look.
Use a small, rounded brush to blur the line you created outward and upward. Never blend it downward.
4. Add More Color
via
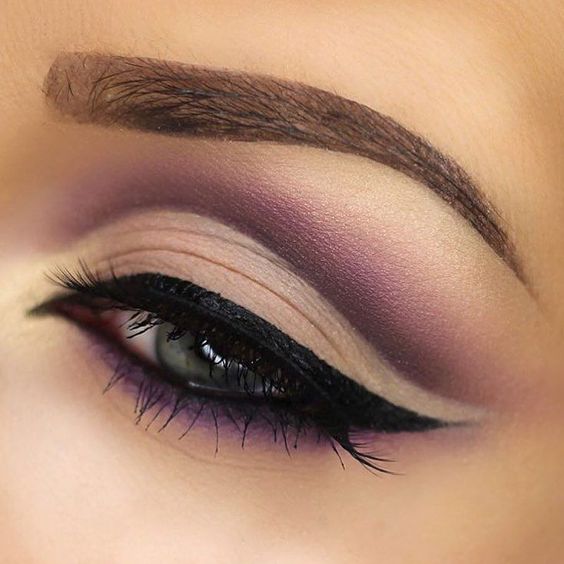
The next step in the process of creating a cut crease eyeshadow look is adding another eyeshadow color above the crease of your eyelid.
If you’re going for a more subtle look, your best bet is to use a shade that is a few shades darker than the neutral shade you applied to the lower part of your eyelid. For a more dramatic or colorful finish, apply a brighter or darker shade of eyeshadow above the crease of your eyelid. Blend the eyeshadow upward toward your brow bone.
Finish the look by adding a highlighting color to your brow bone in order to define it. You can use either a light shade of eyeshadow or a pearl or champagne shade of highlighter for this step.
5. Resist the Urge to Blend
via
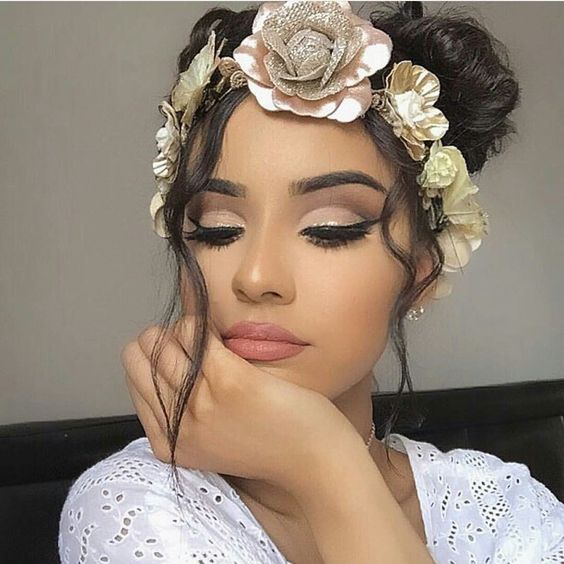
The whole point of cut crease eyeshadow is that it includes a dramatic change between the lower part of your eyelid underneath your crease and the upper part of your eyelid above your crease.
When creating a cut crease eyeshadow look, only blend the eyeshadow when absolutely necessary. Restrict your blending to the lower and upper parts of your eyelid separately. If you blurred your crease line sufficiently, you should have no need to blend the shades on different parts of your eyelid together.
6. Try Glitter
via
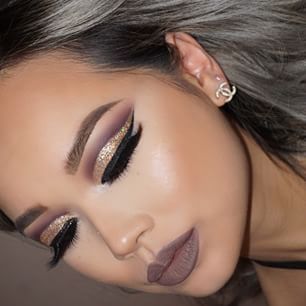
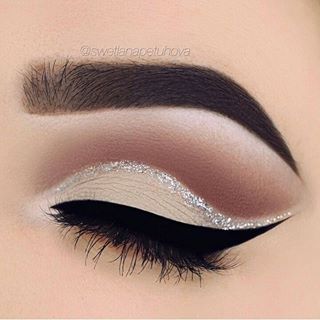
You can create a fun twist on the traditional cut crease eyeshadow look by using glitter. After you apply your crease line with an eyeliner pencil and add color to the upper part of your eyelid, use a liquid glitter eyeliner to draw a thin line across the crease of your eye. The glitter emphasizes your crease further and adds extra flair and fun to your look.
7. Pair With a Wing
via
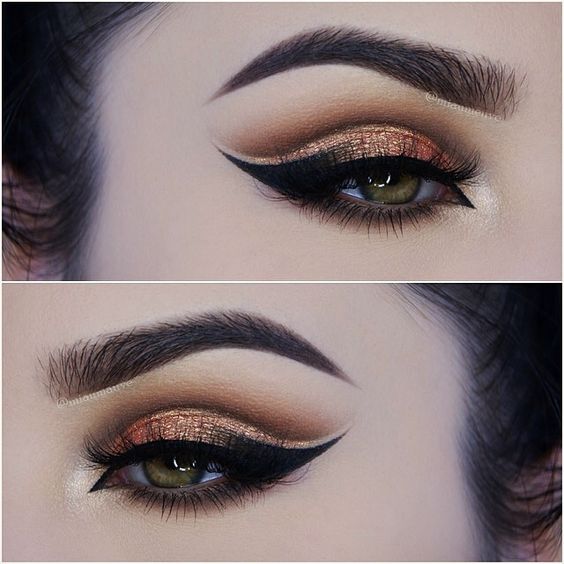
Cut crease eyeshadow looks amazing when paired with winged eyeliner. After you complete your cut crease eyeshadow, apply a thick line of winged eyeliner to add extra drama and definition to your look.
Cut crease eyeshadow is definitely a challenge to apply well, but it’s definitely worth the struggle. Use the tips in this post to learn how to apply cut crease eyeshadow correctly for a neat, beautiful finish.
